
Decking Design and Installation for CleverDeck from Futurewood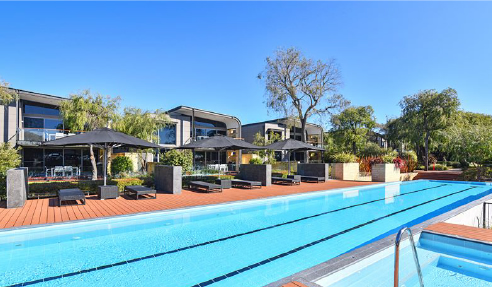 Lay Out your Decking Design with Precision Correct installation is essential when installing wood-composite decking and this will help establish a design that meets your client's overall decking requirements. Composite wood materials have distinct characteristics that are different to timber, so they require a different approach in regards to the installation process. Futurewood's step-by-step guide covers the proper handling and fixing of the CleverDeck composite wood decking system. Here are some key points to remember when installing CleverDeck wood-plastic-composite decking that should be thoroughly read and understood by contractors, tradesmen and builders:
Handling
Safety and Tools
|
1300 484 308
|


Related News Articles
 Maintenance for Composite Decking by
 Slip-Resistant Walkways for Theme Parks
 Low Maintenance Cladding for Water Park
 Facade Screening for Industrial
 Care Tips for Composite Timber Decking
 Composite Timber for Picnic Tables by
 Three Types of Decking by Futurewood
 Weatherproof Cladding Supplier by
 Composite Timber Fences for Backyards by
 Composite Decking Frame by Futurewood
 Composite Decking Supplier NSW by
 Composite Timber for Outdoor Benches by
 Vertical Screening for Backyard by
 Weatherproof Composite Cladding for
 Maintenance Free Decking by Futurewood
 Timber Alternative Features by
 Aluminium Subframe for Decks by
 Advantages of EnviroSlat Screening
 Composite Timber Screen Fencing by
 External Weatherproof Cladding by
 |
 |
Home | About/Services | News Lounge | News Archive | Product Archive | Tender News | Testimonials | Conditions of Use | Privacy Policy | Stats
![]()
![]()
![]()
![]()
© SPEC-NET