
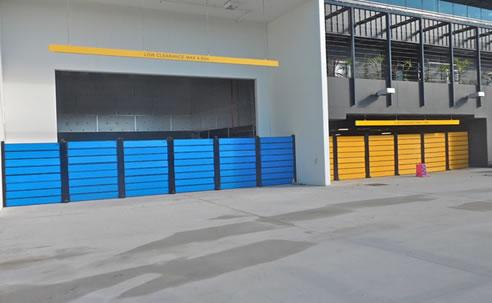
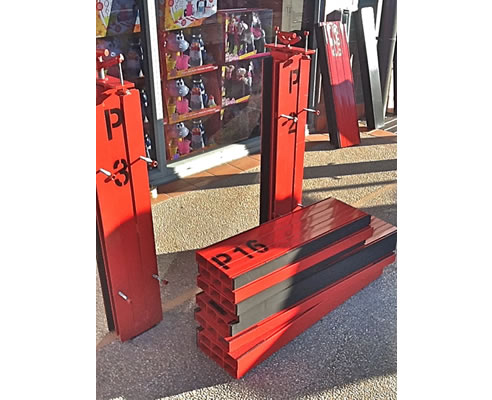
Demountable Flood Protection Barriers: Floodplank from Flooding Solutions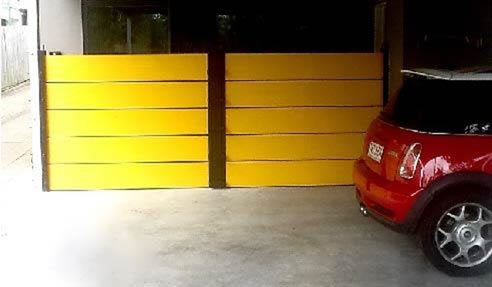 Flood protection barriers are the calling card of Flooding Solutions. Most of the Australian population resides on coastal floodplains. Hence, Flooding Solutions has sought to combat the adverse impacts of flooding with sophisticated technologies. With a commitment to quality, the product development team at Flooding Solutions has carefully curated a versatile catalogue of flood protection barriers and systems. One of the most in-demand products is Floodplank.
|
Flooding Solutions Advisory Group Profile 02 9904 7099 Suite 203/283 Alfred St, North Sydney, NSW, 2060
|


Related News Articles
 Glass Window Flood Barriers by Flooding
 Self Closing Flood Roller Barrier for
 Flood Protection Barriers Queensland
 Entry Flood Barriers for Parramatta
 Organic Self-closing Flood Barriers from
 Automatic Recessed Flood Barriers from
 Automatic Drop-down Flood Barriers from
 Flood Barriers for Heavy Vehicle Areas
 Passive Flood Barriers for Apartments by
 Expanding Panel Floodgates from Flooding
 Flood Roller Doors for Medical Centres
 Hyflo Passive Flood Barriers for
 24/7 Flood Doors Approved Nationwide
 Flood Protection for Monash Medical
 Flood Protection for Monash Medical
 High End Retail Drop Down Flood Barriers
 High End Retail Drop Down Flood Barriers
 Automated Drop-Down Flood Barriers from
 Automated Drop-Down Flood Barriers from
 Low Profile Flood Barriers for
 Low Profile Flood Barriers for
 Hyflo Self Closing Flood Door from
 Hyflo Self Closing Flood Door from
 24/ 7 Flood Doors for Buildings |
 24/ 7 Flood Doors for Buildings |
 How do Hyflo Self Closing Flood Barriers
 How do Hyflo Self Closing Flood Barriers
 |
 |
Home | About/Services | News Lounge | News Archive | Product Archive | Tender News | Testimonials | Conditions of Use | Privacy Policy | Stats
![]()
![]()
![]()
![]()
© SPEC-NET